I had returned from an awesome park shred filled weekend from Stubai when I got a call from my powder buddy Rok Zalokar, Vertical Adventures IFMGA Mountain guide. Every year Rok organizes avalanche safety workshops. He asked if I had time on Thursday. Not having all to much holiday left I reluctantly asked what for. He said PIEPS clinic avalanche safety training and I was on board.
PIEPS the company from Styria, just 20 km from my hometown in Maribor and one of the most well known brands in avalanche beacons was inviting us to take part in there annual product showcase workshop. We would be able to test and compare their products to virtually everything else that is on the market these days and, while doing so, learn a lot about how beacons work, repeat what we know and hone our search skills for the beginning of the season. Joined by our annual Whistler “migrant” and prominent Slovenian freeskier Matic Gobec and filmer extraordinaire and new dad Jure Niedorfer aka “Chouka” we were off at 5 am to catch the first cable car to the top of the Dachstein.

With the help of Rok, who works closely with PIEPS on training, we would navigate five Stations to learn more about beacons and hone our search skills.
Station 1 – Beacon search Range

We started of with testing the range of beacons from different manufacturers. The setup was simple. To find the optimum range we would walk next to a 80 m long line with a beacon pointing at us at its end. We would place a flag where we would get the first signal and repeat the same thing with the y-axis beacon antenna. We learned that the antennas on the different axis of the beacon being x,y,z do not have the same range because they are physically not the same length and strength.
We also learned that if the sending beacon is on the y-axis antenna while you come at it most beacons will send you on the magnetic line of force from the emitting antenna. That means you will be going in a half-circle towards the burred beacon. The only beacon not to do that was actually my trusted old analogue Orthovox F1. As to why we were all a little baffled 😛

Also if you calculate your search radius you will notice that the discrepancy between the search range on the x-axis and y-axis influence your search window. If both antennas would be equally strong you would cover a full circle. Because they are not this varies a lot from beacon to beacon.
I tried the test with the the Pieps DSP PRO, the Ortovox S1+ and 3, Arva Neo and my old F1. The results were very mixed. Except for the Ortovox 3 all of the above performed quite equal. The Arva Neo, DSP Pro and S1+ had about the same range thou on the y-axis it was S1+ was a little worse. I will have to give that one to Pieps. The Orthovox 3 was the worst of them all. Id put it in the same range as old budget Pieps Freeride. Interestingly my F1 had one of the best ranges on the X-axis but on the y-axis it performed kinda like the 3 so when I use it I cover less in width of the search area as in length compared to a modern DSP or S1+.
TIP: If while searching you happen to notice that you are going in a half-circle towards your signal source you can speculate into what direction the victim is buried. When you are close enough this can help finding a better spot to start your detail search and digging.
Station 2 – Multi Burial scenario

The second station would demonstrate how the mark functions of the many beacons worked. We would have two beacons transmitting in close proximity about 60 away from us. Then we would play two scenarios where they would be either close by or about 10-15 m apart.
We quickly learned that the mark functions are a lot improved these days, but sometimes, they do mess up your search. In our case one of the Arvas just flat out refused to show two buried people and so did the Mamut Pulse. After marking the first one both did show the second one. Since both of the beacons were updated to the latest firmware the day before I am guessing that the new updates are prioritizing the better signal so that the user does not get to confused. Weather that is a good or a bad thing remains to be seen. Different people react differently in a bad scenario.
We also learned that the mark function is somewhat unreliable with analogue beacons like my F1 as they do not always transmit the same signature so that a marked analogue beacon could start showing up again after a while because a digital beacon could lose it and think it is a new signal.
Multi burial scenarios are very uncommon and account for less then 1% of all avalanche incidents in the alps. They are more prone in Canada and other heli-ski destinations where exposure of more then one person on dangerous terrain is more common. Think landing zones for helicopters on snowy ridges.
TIP: To improve your search speed in a multi burial scenario when you come to the first signal don’t lose time. Mark it and put a probe there for your buddies to do the fine search while you concentrate on finding the next signal. If you are alone unfortunately you will have to prioritize.
Station 3 – The JETFORCE Avalanche Airbag

One of the biggest innovations in avalanche safety was the invention of the avalanche airbag. Improving your survival rate enormously, thou not the ABS advertised 90% they have become a must for most of us powder hunters. As Black Diamond bought PIEPS a few years back they also introduced a more technical approach to the tried old mechanical explosive cartage systems. That is the JETFORCE. A jet turbine on Li-Ion batteries that inflates the airbag in 3 seconds with 200 l. That is the biggest volume on the market right now.
I had played with a prototype at ISPO a few years back and the system has been upgraded since then. It also deflates automatically after 3 minutes so if buried you will have some more room to move. A commendable feature.

I also tired roiling while inflating it to see how well it would inflate while on my back and it worked really well. Another test we did that would be something that practically can not happen. We buried the bag completely under snow to see if it would inflate just from extracting air from the snow. It did not of course. A cartridge based system would do that regardless. But that is a scenario that can not happen so it was just an interesting test to see what happens.
Another thing I did like about the system is the easiness of packing it back together. Unlike my ABS you do not need to specially put the balloons together to avoid inflation problems and packing it together took like a good minute. Then it is ready to inflate again.


One problem I see is the weight. As for now the bigger backpack weights 3.3 kg with the system. With competing systems like the the Alpride at only 1.2 kg (around 2 with bag) the technical flexibility of this system costs you weight. Of course with battery technology improving there are enormous possibilities to reduce the weight as the batteries are actually most of it.
Station 4 – ART advanced rescue training

For the training providers Pieps also offers the ART-advanced rescue training. It can emulate different kinds of beacons in different positions. Base stations are buried and then you have to look for them. Rok also uses one of these systems for his courses in Slovenia. As part of a practical warm up we split into groups and tried to find the beacons as fast as we could. It was a very good warm up exercise for the beginning of the season and it was interesting to use different beacons. In the end we saw how mismanaged we were in uncoordinated groups. We improved that of course, but still sometimes it seemed that we were aimlessly following the pointers on the beacons without looking around to much.
I also did a solo run with the PIEPS DSP and Rok set me up with a multi burial scenario that had a twist. This time the two “victims” would be quite far apart. This is where I did an beginner mistake. Not being used to the DSPs mark function I got a bit confused when I marked the first victim. For the second to activate you have to be a few meters away from the marked point. That I did not do… so I lost valuable seconds marking it twice bye resetting the beacon. In a real world scenario these seconds add up.


TIP: Before you go on a tour and a bad thing happens make sure all of your friends know the range of their beacons when you set up a search perimeter so that there are no gaps. While walking, do that in sync. In case of multi burial or if u are unsure that there are more buried victims make sure that at least one of your friends continues to look for other signals while you hone in on the first one you find.
Station 5 – Fine Search and Probing

Our last station for the day would be the most important and difficult part in a search. The fine search and probing. For this Peips had set up a little Iglu with a beacon inside and probes on top. The idea was to see how close and yet far you can be while probing.
Most people forget that probes bend. That means that if a probe hits some ice your probe might be redirected. That`s why you always have to probe on a 90 degree angle towards the slope in a circle once you locate the closest signal. Probing in the vertical direction regardless of the slope will make your life harder and you will lose valuable time.
Part of the exercise was also to demonstrate how the Iprobe, a PIEPS innovation works. Essentially it is a probe with a fine search beacon on it. Once you hit an object and are very close it can turn off or mark the beacon. That is good for multi burials and unfortunately only works with other PIEPS beacons. Still regardless of the beacon type it can do the detail search while you are probing and send the appropriate audio signal once you are 0.5 m to the target. I think it is a useful device especially when you are in the tense situation where time is running out and pressure mounts for you to find your buried friend. If they weren’t so expensive, I would get myself one.


TIP: When you are ready to start digging after the fine search and usually are around 2 m away think of how a beacon works. It shows the closest way sometimes in a half-circle. Consider the gradient of the slope. Sometimes for 2 meter you just have to take two steps back or downhill to be at the height of the victim. Start digging there and not from the top to save time. Of course this depends on the topography so always in fine search use your senses. Don`t just depend on the beacon.
TIP 2: While fine probing with a beacon when you hit your mark do not remove the probe. Next time you stick it in the snow, it might hit a patch of ice and you will think that you missed your target. That can cost you valuable time as you work another circle and come to the same spot you hit first. Usually it costs about a good two minutes. That is time you do not have.
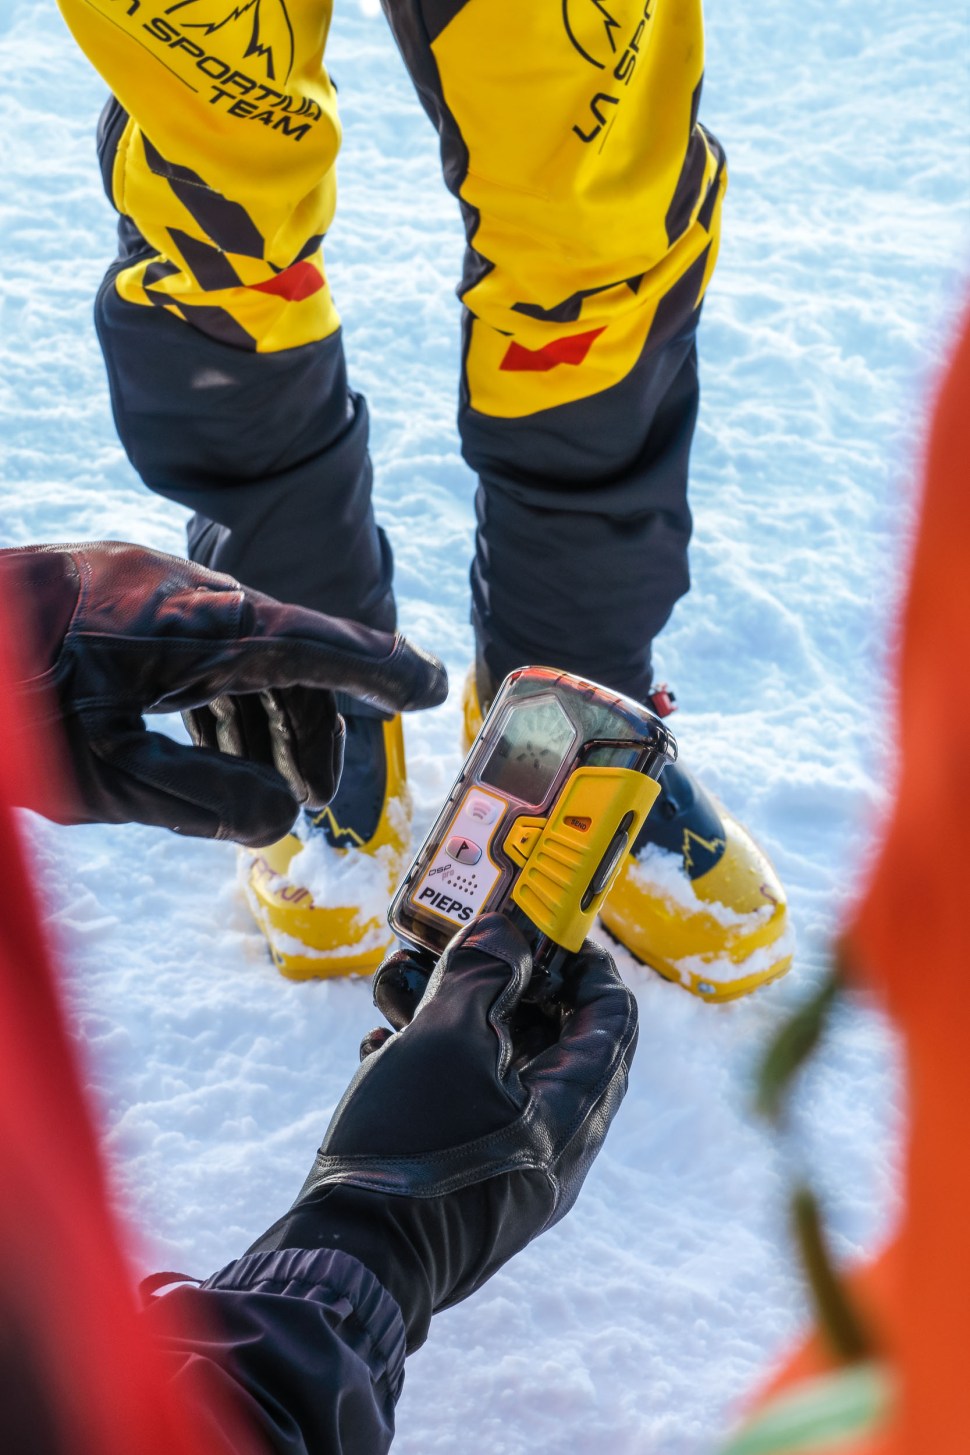
As this was a PIEPS event Rok also gave us a good usage tutorial on the PIEPS DSP Sport and Pro. The difference between the two from a hardware standpoint is minimal. The DSP Pro has better tuned antennas and features that speak more to guides and professionals. For example it has:
- an inclination meter
- a group check function
- a signal check function – It can measure if your beacon is up to 100 hz off from the normal operating 457 khz so that it transmits on optimal range. My old F1 for example was only 10 hz off.
Both of them have intelligent antennas that are capable of detecting signal interference. Since these days we always carry phones and Wi-Fi enabled GoPro`s all these signals can interfere with the antennas. If that case occurs the scrambled antenna is automatically switched off. That is also indicated on the screen and makes you aware of the situation.


It was a really awesome day for us at the glacier and I think we all learned something new that might save our lives on day! Special thanks again to PIEPS for inviting us all. You can check out all their gear here and also special thanks to Rok for the education in our native tongue. If you are new to the whole safety aspect of freeskiing check out Rok`s avalanche workshops. It`s one thing to read about it and get the gear, but in real live practice makes perfect.
1 Comment